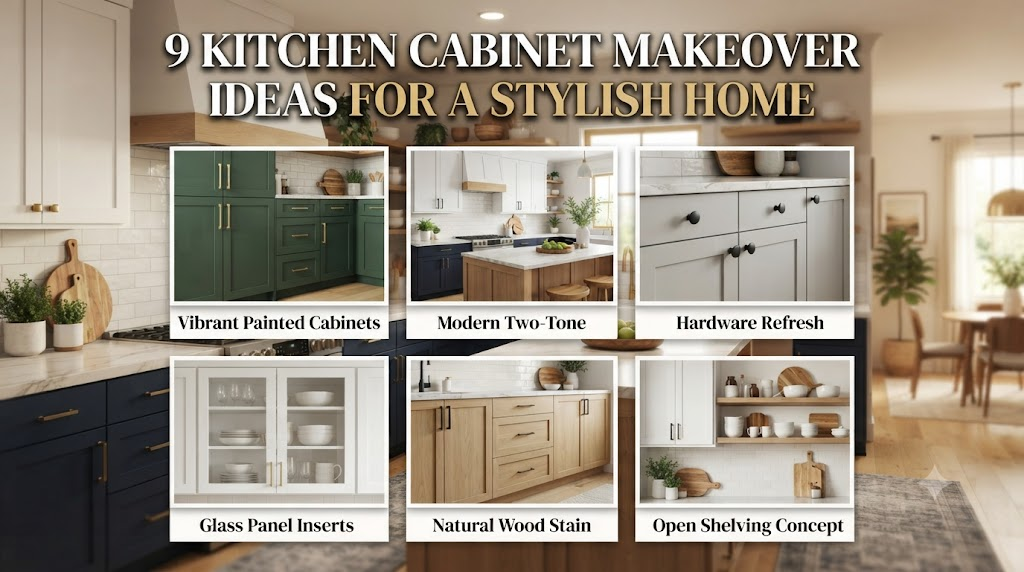
9 Kitchen Cabinet Makeover Ideas for a Stylish Home
Kitchen cabinets are one of the first things people notice when they walk into a kitchen. Even if your countertops, flooring, and appliances are updated, worn, or outdated, cabinets can make the entire room feel old-fashioned. The good news is that you don’t always need an expensive renovation to create a fresh new look. A thoughtful cabinet makeover can completely transform your kitchen while saving thousands of dollars compared to replacing every cabinet.
Whether you’re planning a weekend DIY project or a complete kitchen refresh, updating your cabinets is one of the highest-impact improvements you can make. From painting cabinet doors to installing stylish hardware and adding custom lighting, small upgrades can dramatically improve both appearance and functionality.
In this guide, you’ll discover nine practical kitchen cabinet makeover ideas that work in real homes. These ideas combine timeless style, smart storage, and budget-friendly improvements to help you create a kitchen you’ll love for years.
Why a Kitchen Cabinet Makeover Is Worth It
Kitchen cabinets take up a large portion of your kitchen’s visual space, so updating them instantly changes the overall atmosphere. Instead of spending a fortune on brand-new cabinetry, a makeover allows you to refresh existing cabinets while keeping your renovation budget under control.
Besides improving appearance, cabinet makeovers also increase functionality. Better storage, improved lighting, updated hardware, and modern finishes make everyday cooking more enjoyable while increasing your home’s resale value. With the right upgrades, even decades-old cabinets can look custom-built.
1. Paint Kitchen Cabinets for a Fresh New Look
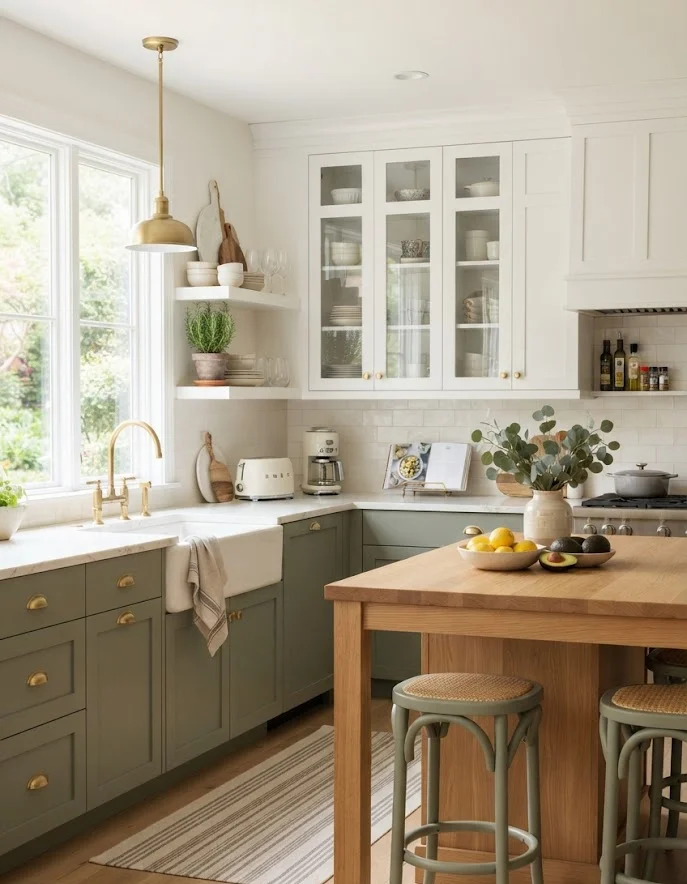
Nothing transforms kitchen cabinets faster than a fresh coat of paint. If your cabinet boxes remain solid but the finish looks faded or outdated, painting them can make them appear brand new for a fraction of the replacement cost. Modern cabinet paints are highly durable and designed to withstand moisture, grease, and daily wear.
White continues to be the most popular cabinet color because it reflects light and makes kitchens appear larger. However, soft gray, warm beige, sage green, navy blue, and greige have also become favorite choices for homeowners looking for timeless style. Darker colors work especially well on lower cabinets, while lighter shades brighten upper cabinets.
Preparation is the secret to professional-looking results. Remove cabinet doors, clean away grease, lightly sand surfaces, apply a quality bonding primer, and use cabinet-grade enamel paint. Taking time to prepare properly creates a smooth factory-like finish that lasts for years.
Pro Tips
- Use satin or semi-gloss paint for easier cleaning.
- Label cabinet doors before removing them.
- Replace old hinges while repainting.
- Allow adequate drying time between coats.
- Finish with a protective clear coat for extra durability.
2. Replace Cabinet Hardware for an Instant Upgrade
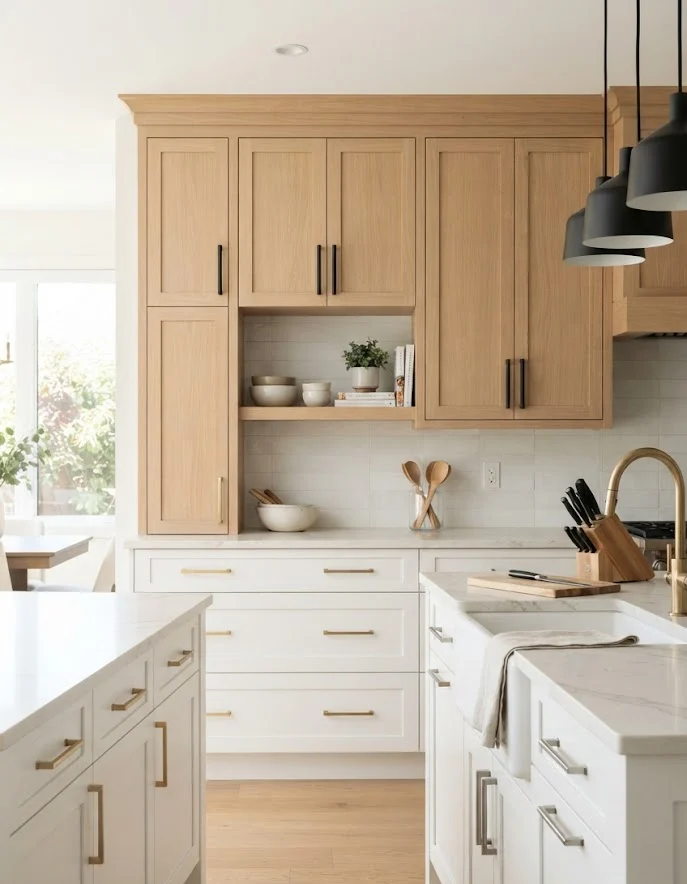
Replacing cabinet knobs and handles is one of the easiest kitchen upgrades you can complete in a single afternoon. While small in size, cabinet hardware plays a major role in defining your kitchen’s style. Swapping outdated brass knobs for sleek matte black pulls or brushed gold handles instantly modernizes the entire room.
Today’s hardware comes in countless styles, including minimalist bar pulls, vintage cup pulls, leather handles, and contemporary geometric designs. Choosing hardware that complements your faucet, lighting fixtures, and appliances helps create a cohesive design throughout the kitchen.
Before purchasing new hardware, measure the distance between screw holes on existing handles. If you want to avoid drilling new holes, buy replacements with the same center-to-center measurement. This simple step makes installation much quicker and cleaner.
Popular Hardware Finishes
- Matte Black
- Brushed Brass
- Satin Nickel
- Stainless Steel
- Antique Bronze
- Champagne Gold
3. Install Glass Cabinet Doors for an Open Feel
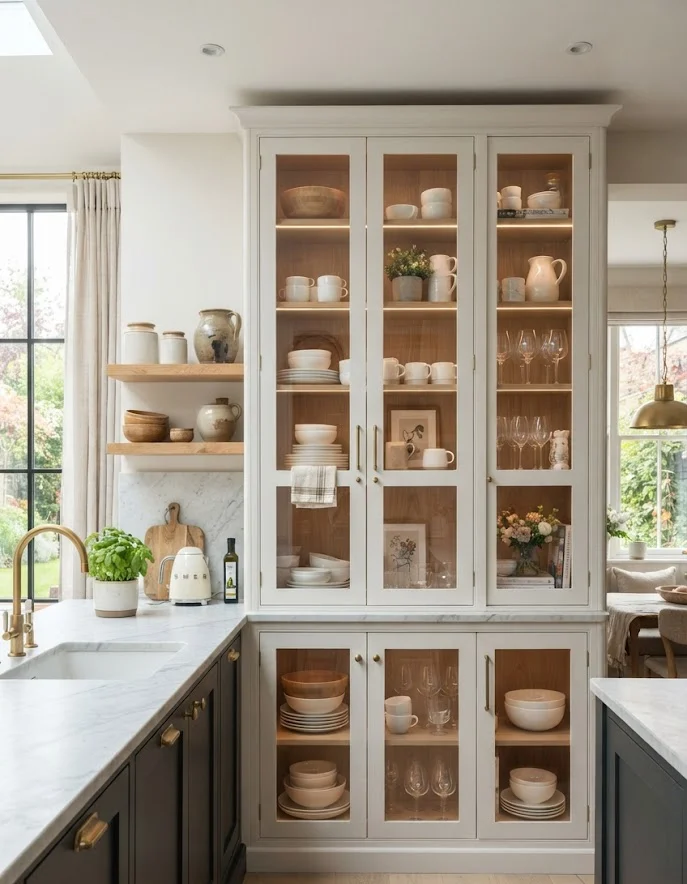
Glass cabinet doors are an excellent way to make kitchens feel brighter and more spacious. Instead of heavy solid doors, glass inserts allow light to travel throughout the room while displaying attractive dishes, glassware, or decorative pieces.
There are several types of glass to choose from depending on your preferred style. Clear glass creates an open display, frosted glass hides clutter while maintaining brightness, and textured or seeded glass adds decorative character. Black-framed glass cabinets also work beautifully in modern farmhouse and industrial kitchens.
To make glass cabinets look their best, keep shelves organized using matching dishes, decorative bowls, baskets, or neatly arranged glassware. Installing LED lighting inside glass cabinets further enhances their appearance by creating a warm, luxurious glow during the evening.
Best Places for Glass Cabinets
- Upper corner cabinets
- Cabinets beside the range hood
- Display cabinets above coffee stations
- Dining hutch cabinets
- Kitchen islands with glass end panels
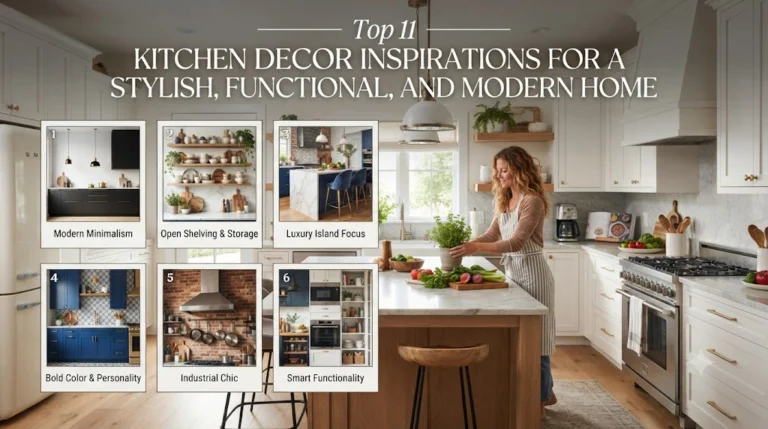
4. Install Open Shelving for a Modern, Airy Kitchen
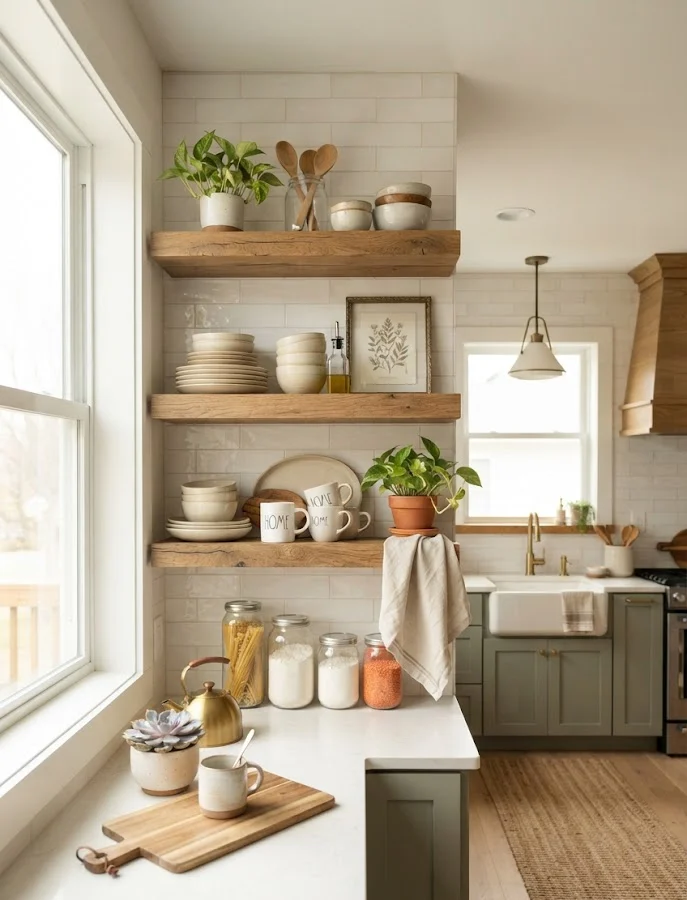
Replacing a few upper cabinets with open shelving is one of the easiest ways to give your kitchen a lighter and more spacious appearance. Open shelves reduce visual bulk, making even a small kitchen feel larger and more welcoming. They also provide an opportunity to display beautiful dinnerware, cookbooks, glass jars, and decorative accessories that add personality to your space.
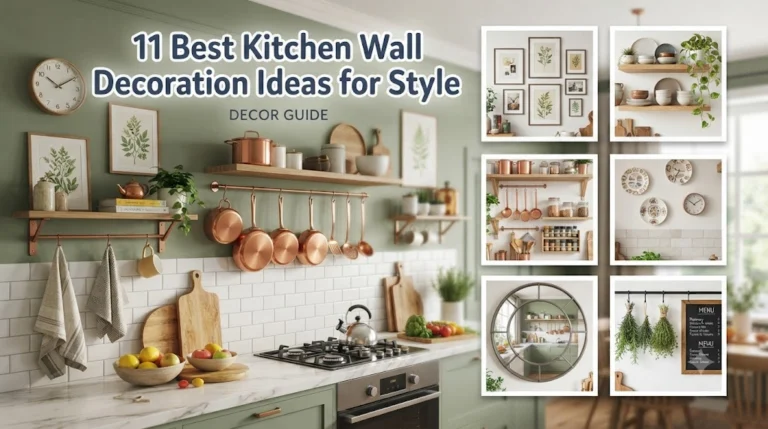
Floating shelves made from natural oak, walnut, reclaimed wood, or painted wood blend beautifully with many kitchen styles. Metal brackets create an industrial look, while hidden brackets offer a clean, minimalist appearance. Choose shelf materials that complement your countertops and cabinet finishes for a cohesive design.
Although open shelving looks effortless, organization is essential. Display only your most attractive and frequently used items, and avoid overcrowding the shelves. A balanced arrangement with stacked dishes, small potted herbs, woven baskets, and decorative bowls creates a stylish yet functional display.
Styling Tips for Open Shelving
- Keep a consistent color palette.
- Mix decorative pieces with everyday essentials.
- Use matching storage jars for dry ingredients.
- Add small plants to bring life into the kitchen.
- Leave empty space between décor items for a clean look.
5. Choose Two-Tone Cabinet Colors for More Visual Interest
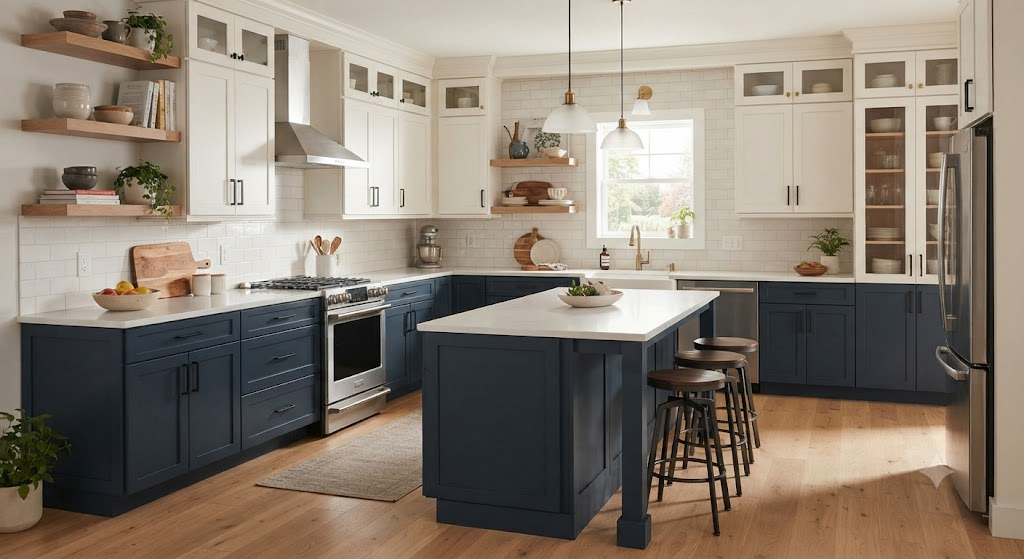
Two-tone cabinets continue to be one of the biggest kitchen design trends because they create depth, contrast, and personality without overwhelming the room. Instead of painting every cabinet the same color, use one shade for the upper cabinets and another for the lower cabinets or kitchen island.
A common design approach is to keep upper cabinets light to maximize brightness while using richer colors below for visual grounding. This combination helps the kitchen feel larger while adding character. Popular pairings include white and navy, cream and forest green, light gray and charcoal, or natural wood combined with painted cabinetry.
Two-tone designs also allow you to highlight specific features, such as a kitchen island or pantry wall. Coordinating your cabinet colors with your backsplash, flooring, and countertops creates a polished and professionally designed appearance.
Popular Two-Tone Color Combinations
- White + Navy Blue
- White + Sage Green
- Beige + Walnut Wood
- Soft Gray + Charcoal
- Cream + Deep Green
- White + Black
- Greige + Natural Oak
Designer Tip
If your kitchen receives limited natural light, use darker colors only on lower cabinets or the island while keeping upper cabinets bright. This maintains an open, airy feel without sacrificing contrast.
6. Add Under-Cabinet Lighting for Style and Functions
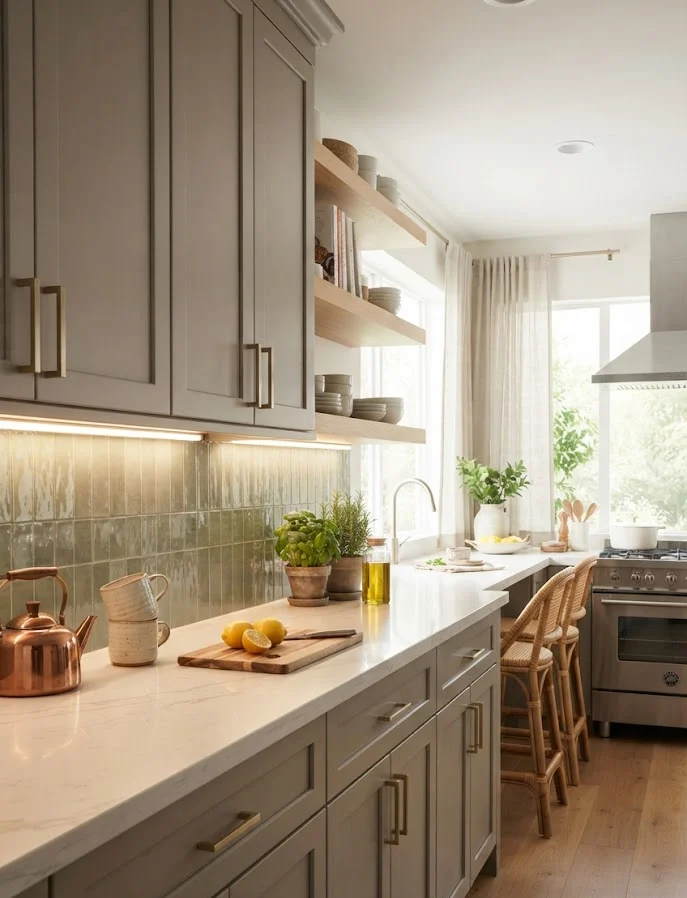
Lighting is often overlooked during cabinet makeovers, yet it has one of the biggest impacts on both functionality and atmosphere. Under-cabinet lighting illuminates countertops, making food preparation safer and more comfortable while creating a warm, welcoming ambiance throughout the kitchen.
LED strip lights are the most popular choice because they consume very little electricity, generate minimal heat, and last for years. Many modern systems also include dimmers, motion sensors, or smart controls that allow you to adjust brightness depending on the time of day or the activity you’re performing.
Beyond improving visibility, under-cabinet lighting highlights beautiful countertops, backsplashes, and decorative finishes. Whether you’re preparing dinner or entertaining guests, the soft glow instantly gives your kitchen a high-end, custom-designed appearance.
Benefits of Under-Cabinet Lighting
- Improves countertop visibility.
- Reduces shadows while cooking.
- Creates a warm and inviting atmosphere.
- Highlights backsplash tiles and countertops.
- Increases the kitchen’s luxury appeal.
- Uses energy-efficient LED technology.
- Enhances home value with a modern upgrade.
Best Lighting Color Temperatures
- 2700K–3000K: Warm white for cozy kitchens.
- 3500K–4000K: Neutral white for everyday cooking.
- 5000K: Bright daylight for task-focused workspaces.
7. Reface Cabinet Doors Instead of Replacing Them
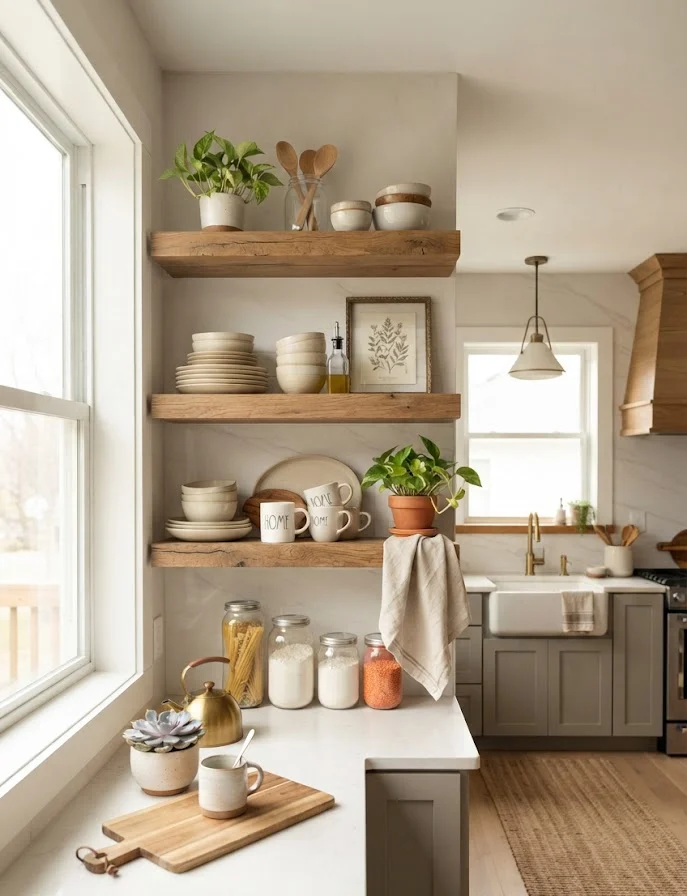
Cabinet refacing is one of the smartest ways to achieve a brand-new kitchen look without tearing out your existing cabinetry. Instead of replacing the entire structure, you keep the cabinet boxes and simply update the doors, drawer fronts, and exterior surfaces. This approach delivers a dramatic transformation while saving both time and money.
It works especially well when your cabinet frames are still solid but the style feels outdated. You can choose modern slab doors, shaker-style panels, or even textured finishes like wood veneer or matte laminates. The result is a completely refreshed kitchen that looks custom-built.
Refacing also reduces renovation mess compared to full replacement. There’s less demolition, less downtime, and fewer disruptions to your daily routine, making it ideal for busy households.
Why Cabinet Refacing Works So Well
- Keeps existing cabinet structure intact.
- Reduces renovation cost significantly.
- Offers a wide variety of modern styles.
- Minimizes kitchen downtime.
- Delivers a high-end appearance without full remodel.
8. Add Decorative Molding for a Custom Designer Look
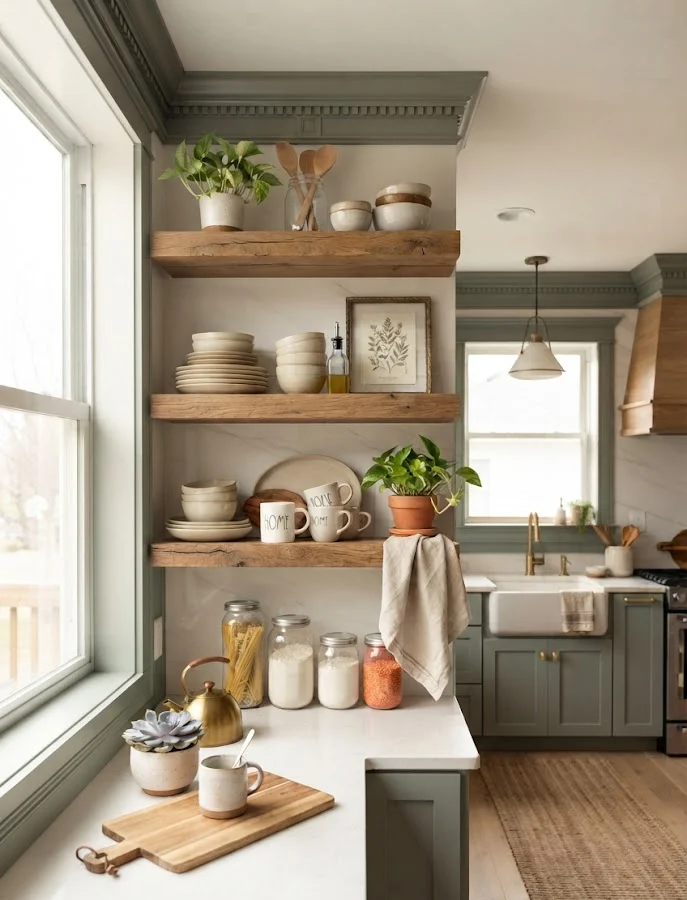
Decorative molding is a simple upgrade that instantly makes standard cabinets look custom-designed. Adding crown molding along the top of upper cabinets fills empty gaps between cabinets and the ceiling, creating a more finished and polished appearance.
You can also add light rail molding under cabinets or trim detailing around cabinet frames for a more traditional or transitional look. These subtle enhancements add architectural interest and elevate even basic stock cabinets.
This upgrade is especially effective in kitchens with higher ceilings, where unfinished cabinet tops can look incomplete. With molding, the entire kitchen feels more cohesive and professionally designed.
Types of Cabinet Molding You Can Use
- Crown molding for upper cabinet tops
- Light rail molding under cabinets
- Base molding for lower cabinet finishes
- Decorative trim panels for cabinet frames
- Ceiling-to-cabinet filler molding
Design Tip
Match your molding finish with cabinet color for a seamless look, or paint it slightly darker/whiter for subtle contrast depending on your kitchen style.
9. Remove Cabinet Doors for Open Display Storage
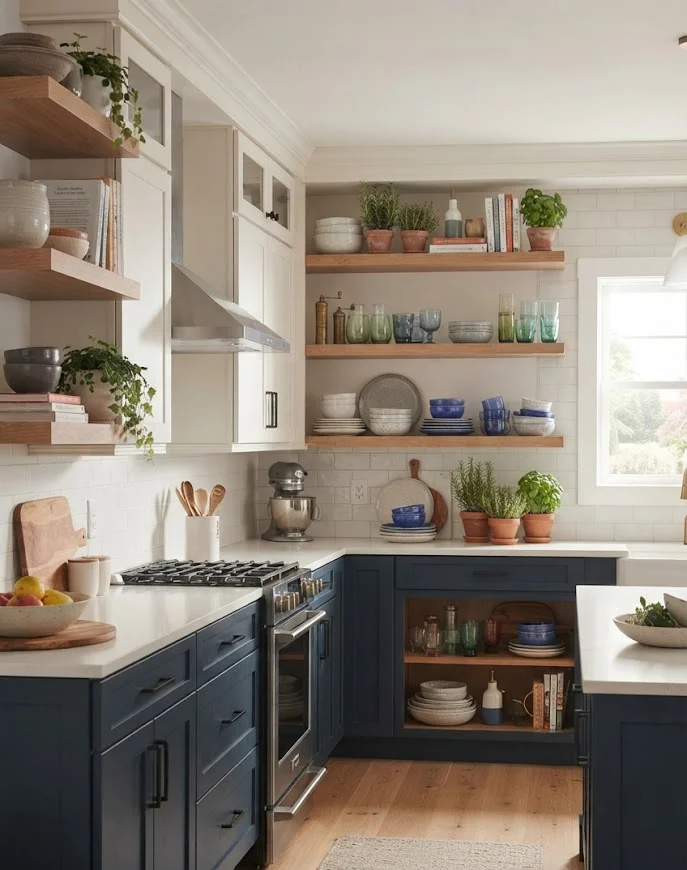
Removing cabinet doors is a bold but highly effective makeover idea that instantly makes your kitchen feel lighter and more open. It transforms closed storage into display shelving, allowing you to showcase beautiful dishes, glassware, or decorative kitchen accessories.
This approach works particularly well in small kitchens where heavy cabinet doors can make the space feel cramped. By removing them, you reduce visual weight and create a more relaxed, airy atmosphere. It also encourages better organization since everything remains visible.
However, this style requires discipline. Open cabinets must be kept neat and organized to avoid a cluttered look. Using matching storage containers, baskets, and color-coordinated dishes helps maintain a clean aesthetic.
How to Style Open Cabinets Properly
- Stick to a consistent color palette
- Group similar items together
- Use baskets for loose or small items
- Display only attractive everyday essentials
- Keep spacing balanced and not overcrowded
Smart Planning Tips for a Successful Cabinet Makeover
Before starting any cabinet makeover, planning is the most important step. I always recommend evaluating your kitchen’s current layout, storage needs, and lighting conditions. This helps you choose upgrades that improve both appearance and functionality rather than just visual appeal.
Another key factor is consistency. Mixing too many styles or finishes can make the kitchen feel disconnected. Instead, choose a clear design direction—modern, farmhouse, minimal, or classic—and stick to it across cabinets, hardware, and lighting.
Finally, prioritize high-impact areas first. Upper cabinets, kitchen islands, and main cooking zones usually draw the most attention, so upgrading these areas first creates the strongest visual transformation.
Simple Planning Checklist
- Define your kitchen style direction
- Set a realistic budget
- Identify high-visibility cabinet areas
- Choose consistent finishes and colors
- Plan upgrades in stages if needed
Final Conclusion
A kitchen cabinet makeover is one of the most powerful ways to refresh your home without a full renovation. Small changes like paint, hardware upgrades, lighting improvements, and decorative details can completely transform the feel of your kitchen.
The best results come from combining multiple ideas rather than relying on just one. When color, texture, lighting, and storage improvements work together, even outdated cabinets can look modern, stylish, and custom-designed.
With the right planning and thoughtful upgrades, your kitchen can become more functional, visually appealing, and enjoyable for everyday use—without the cost of a full remodel.